
You invested time and money upgrading your garage’s dull, gray concrete floor to a smooth, durable epoxy or polyaspartic coating. It should have been a solid foundation for your “dream workshop.”
However, after a few months, you find frustrating “land mines” on the floor: bubbles , glaring yellow spots , or heartbreaking large areas of peeling . This is not only an aesthetic problem, but also a potential loss of the asset value of your garage.
The good news is that these vexing coating failures almost always have a pattern. They don’t occur randomly, but rather as a result of minor conflicts between the concrete and the coating’s chemical composition, often pointing to a crucial step that was overlooked during construction. In this guide, we’ll break down the technical jargon and, with clear logic, reveal the real causes of these common problems and how to address them like a pro, permanently.
Act I: Bubbles and Blisters: The Sweating Crisis of Concrete
Bubbling (or blisters) is the most common and frustrating problem in floor coatings. Imagine countless tiny “craters” or “bubbles” hidden beneath your carefully applied coating. The underlying cause is often related to two invisible enemies: moisture and air.
Q: Why does my coating puff up like bubble gum?
The deadly culprit: rising moisture
This is the number one cause of bubbles. Concrete is essentially like a giant sponge. If the garage foundation isn’t adequately treated for moisture, groundwater vapor will continue to penetrate the concrete and evaporate upward. When this vapor reaches beneath the epoxy (an impermeable barrier), pressure builds, eventually forming bulges or blisters.
Pro Tip: Before applying, you must conduct a rigorous moisture test (e.g., a simple plastic sheet test or calcium chloride test). If the reading is too high, be sure to apply a high-penetration vapor barrier primer first .
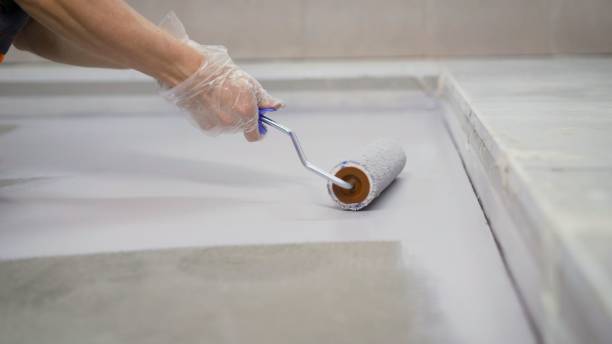
Concrete Outgassing: The Trouble with Thermal Expansion and Contraction
Concrete is a porous material filled with air. If the floor is not adequately diamond-ground, the air trapped in the pores will expand due to the rising ambient temperature during the coating curing process, attempting to escape. When the coating begins to thicken, this rising air becomes trapped, leaving behind countless tiny pinholes or bubbles.
Professional Tip: Always mechanically abrade the floor to open the pores (to achieve a CSP-2 or CSP-3 roughness) and seal the pores with a penetrating primer. Avoid application during sunny midday or when temperatures are rising rapidly.
Rookie Mistake: Over-Mixing
Epoxy is a two-component paint that needs to be mixed, but if you stir it too vigorously with a high-speed power tool, you can incorporate air into the paint, just like whipping egg whites.
Pro Tip: Use a low-speed drill with a Jiffy paddle and stir slowly at medium-low speed. After stirring, let the paint sit for a few minutes (called the “induction period”) to allow trapped air bubbles to dissipate.
Repairing Bubbles: Sanding or Starting Over?
Minor repairs: If the bubbles are just small, localized flaws, you can sand them away completely, clean the exposed concrete, and perform local priming and spot repairs.
Large blisters: If the blisters are large and widespread, it’s almost certainly a moisture problem . The only definitive solution is to grind off all failed coats, address the underlying moisture problem (apply a vapor barrier), and then restart the entire painting process.
Act II: Yellowing and Fading: Sunlight’s Merciless Judgment
Your white or light-colored coating starts to yellow after a few months and looks like old plastic that’s been exposed to the sun. This problem is usually related to the type of paint you chose and its resistance to the environment.
Q: Why did my epoxy resin turn into a yellow-faced woman?
UV Degradation: The Achilles’ Heel of Epoxy Resins
Most traditional epoxy resin products are extremely sensitive to ultraviolet (UV) radiation in sunlight. Prolonged exposure to sunlight can damage the resin’s chemical structure, causing it to oxidize and decompose, leading to yellowing and even chalking. This is a chemical property that has nothing to do with product quality; it’s a characteristic of the material itself.
North American families remind you: If your garage door is often open, allowing direct sunlight to come in, you must prevent yellowing.
Solution: Upgrade to UV-resistant coatings
If you need yellowing resistance, skip the traditional epoxy topcoat.
Recommended topcoats: Polyaspartic or high-quality polyurethane. These materials offer excellent UV stability, effectively resisting the sun’s “tanning” effect, and are often used as a protective topcoat over epoxy primers.
First aid measures after yellowing
Restoration: Once yellowing occurs, the color cannot be reversed. The only way to repair it is to thoroughly clean and roughen the existing coating, then apply a new UV stable topcoat (polyaspartic is recommended) to “cap” the yellowed base coat.
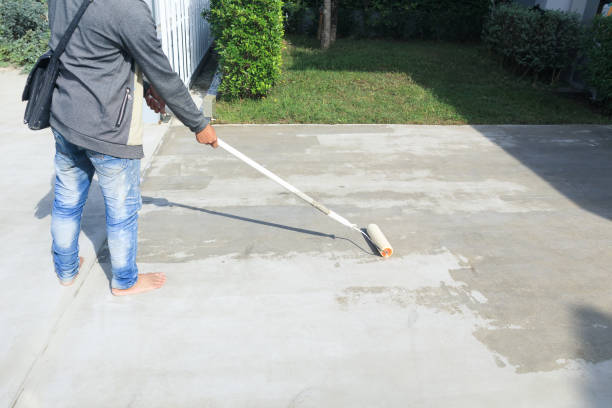
Act III: Peeling and Delamination – The Disaster of Adhesion Failure
Peeling (or delamination) is the complete failure of a coating system, meaning the coating fails to form a strong chemical or mechanical bond with the concrete substrate, like a Band-Aid that won’t stick.
Q: Why is my coating starting to “tear” around the edges or under the tire?
Public Enemy No. 1: The Undisputed King of Failures
Epoxy resin requires a rough, clean surface to form a strong bond. Simply cleaning with acid etching or a broom is not enough. If the floor is left with:
Contaminants: Grease, silicone, tire shine, wax.
Dust: Not vacuumed thoroughly after cleaning.
Surface is too smooth: Without grinding, the concrete is too smooth.
Professional Tips: Mechanical grinding is the gold standard. This removes all weak layers, sealants and contaminants from the surface and creates a “sandpaper” roughness that allows the paint to really “grip” the surface.
Moisture/Water Vapor Intrusion: A Bottom-Up Attack
As with air bubbles, moisture from underground will continue to press upward, eventually breaking the “glue layer” between the coating and the concrete, causing the entire coating to flake off. Moisture is the most difficult underlying cause of spalling to resolve.
Mixing or curing errors: chemical reaction failure
If the resin and hardener are not in the right proportion or are not mixed evenly, the coating will not achieve the desired hardness and viscosity, forming a “soft” or “uncured” fragile layer that will naturally peel off under pressure (such as tire friction).
Peeling Repair: Don’t Delay
Localized peeling: Relatively lucky. Use a grinder to remove all loose material, bevel the edges of the surrounding intact coating, and after thorough cleaning, re-prepare, prime, and re-coat the floor.
Extensive peeling: If peeling occurs in the middle of the garage or in multiple areas, it’s a clear sign that the entire coating system has failed . Don’t try to apply another coat over a failed coating. You must completely remove the existing coating, identify the root cause (usually moisture or surface preparation), and start over.
Final reflection: From novice to expert, the truth you need to know
Garage floor coating is not as simple as “painting”. It is a systematic project that requires precise chemical reactions and strict physical preparation.
Truth 1: The more time you spend, the longer your floor will last. The root of all problems points to “cutting corners.” Those who spend an extra day on “pre-treatment” will get a longer life than those who rush to paint.
Truth 2: Don’t trust one-size-fits-all products. Assess your garage’s environment: Is it humid? Is it exposed to direct sunlight? Choose a professional-grade moisture-resistant primer and UV-stable topcoat (polyaspartic acid) accordingly.
Truth 3: Professional tools are essential. If you are serious about this project, consider renting a professional mechanical grinder to ensure the best possible adhesion.
Your garage floor is more than just a place to park your car; it’s the starting point for your next great project. Addressing the causes of coating breakdown will ensure your garage withstands the test of time and stress.
What was the most time-consuming or frustrating step in your last garage floor prep? Share your experiences and lessons learned in the comments!
