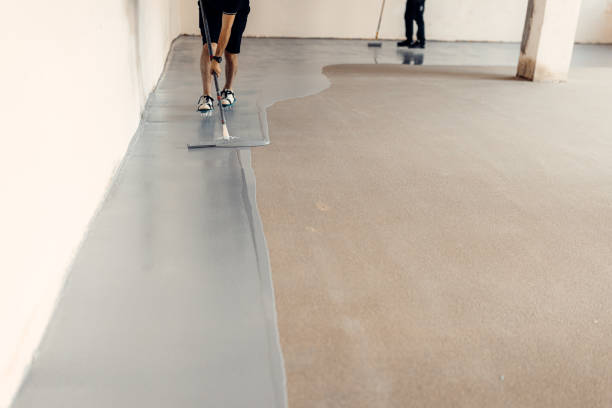
Have you ever spent a weekend confidently giving your garage a professional-grade finish—a shiny, durable epoxy? You invested in top-quality paint, along with a brush and roller. But after just a few months, you notice the paint starting to bubble , flake , and even peel away in patches where tires run over it.
This is not only a waste of money and time, but also a heavy blow to your DIY spirit.
Why does this happen? The answer often lies not in the price of the epoxy you’re using, but in whether you’ve neglected the most critical, yet easily skipped, step before applying: professional surface preparation . If you want your garage floor coating to last ten years, not just ten months, let’s delve deeper into why “cleaning” requires more than just sweeping.
The Basics: The Marriage of Coatings and Concrete
To understand the importance of surface preparation, you need to know how floor coatings (such as epoxy or polyurethane) work. The coating’s relationship to the concrete substrate is like a marriage that needs to be perfectly matched.
The coating does not stick to the ground by adsorption , but penetrates into the tiny pores of the concrete surface, forming millions of tiny mechanical anchor points . Only when these anchor points are strong enough can the coating withstand heavy pressure, friction and chemical corrosion.
barrier between the coating and the concrete – whether it’s oil or chemical residue – will disrupt this “marriage”, causing the coating to quickly “divorce” under pressure, which we see as peeling.
Key Steps Breakdown: Cleaning, Degreasing, and Neutralization
Professional-grade garage floor refinishing isn’t just a one-time rinse. It’s a precise three-stage process, and every step counts.
1. Deep cleaning and professional degreasing
Your garage is a battleground of grease and chemicals. Your regular household cleaners won’t be able to tackle these deep-seated stains.
The heart of the matter: Concrete is a porous material that absorbs all spills like a sponge, especially grease, oil, coolant, and gasoline. These hydrocarbon contaminants are the number one enemy of coating adhesion .
Professional solution: You need to use a professional-grade alkaline degreaser . This type of product is designed to break down and emulsify oily contaminants, pulling them out of the pores of the concrete.
How to do it: For particularly stubborn stains, you may need to apply a concentrated degreaser to the area and scrub vigorously with a stiff-bristled brush. It is important to allow the degreaser enough “dwell time” to break down the stain, and then rinse thoroughly with clean water.

2. Acid etching: Opening the pores of concrete
After degreasing, the next step is usually to “roughen” the surface to achieve the best mechanical bonding.
Why is etching necessary? Many old or smooth concrete surfaces are too dense for coatings to penetrate effectively. Acid etching (typically using diluted hydrochloric acid/muratic acid or an environmentally friendly etchant) slightly dissolves the grout on the concrete surface, opening the pores and creating a texture similar to fine sandpaper .
Importance Analogy: Imagine you’re trying to glue together smooth glass and rough wood. Etching is the process of changing the concrete from “smooth glass” to “rough wood.”
A-Ha moment: There’s an easy way to check if your etching is successful: sprinkle water on the floor. If the water absorbs quickly and darkens the floor (like wet cement), it’s well prepared. If the water beads up, you need to etch again.
3. Neutralizing Residues: Keeping Marriage Neutral (The Neutralizer Requirement)
This is the part where novices are most likely to make fatal mistakes because its importance is invisible .
Residual crisis: After acid etching, there will be residual acid on the ground. If you apply epoxy resin directly, the residual acid will prevent the coating from curing properly and may cause bubbles caused by chemical reactions , which will eventually cause the coating to lose adhesion.
Neutralization’s mission: A neutralizer (usually an ammonia solution or specialized neutralizing powder) must be used to balance the pH of the floor to a neutral level . Only a pH-neutral substrate can ensure optimal adhesion and curing of epoxy resin.
Perfect finishing touch: After neutralization, rinse again and again with clean water until the water comes out completely clean, ensuring that all acid, degreaser and neutralizer residues are completely removed.
The ultimate verification: dryness and humidity testing
Professionals know that even with perfect cleaning, moisture can ruin everything.
completely dry before coating can begin . This process can take anywhere from 24 hours to several days, depending on climatic conditions.
Verification method: Use an 18×18 inch piece of plastic sheeting or aluminum foil, seal it on the floor with tape on all four sides, and let it sit for 24 hours. If there is no condensation or discoloration under the plastic sheeting after you peel it off , then your floor is ready to be painted.
Summary and reflection: Why does DIY require “professionalism”?
Garage floor coating isn’t a project where you can cut corners. Ninety percent of the value of your investment in money and time comes from the initial surface preparation . As a renowned coating expert says, “You’re not paying for epoxy; you’re paying for concrete preparation .”
The next time you plan this project, remember: professional degreasing, necessary etching, and thorough neutralization are the three steps that determine the fate of your garage floor.
Have you ever failed a project because you overlooked a crucial prep step? Or do you have any pro tips for testing floor preparation? Share your experiences in the comments below, and let’s avoid DIY nightmares together!
