You’ve completed the most laborious part of your garage floor coating project: using professional grinding equipment, removing all old coatings and grime, and leaving the concrete surface looking flawless.
But many DIYers, or even some novice contractors, often fall short at the last step: failing to ensure the concrete is sufficiently dry.
Trapped moisture vapor is the number one cause of blistering and flaking in expensive coating systems, whether epoxy or polyurea . You need more than just a dry-to-the-touch surface; you need the concrete’s internal relative humidity (RH) or moisture vapor release rate (MVER) to meet the coating manufacturer’s stringent requirements.
This article will delve into the scientific principles that influence concrete drying and how to use specialized ventilation, heating, and dehumidification equipment to scientifically and safely accelerate the drying process of your garage floor.
1. Why is drying so important? Understanding the threat of moisture
Before you can seal the concrete, you must defeat this invisible enemy from within.
The Science of Moisture: Surface Illusions and Relative Humidity
Surface illusion: The concrete surface may appear “dry” within a few hours. However, this is simply due to evaporation of surface moisture. Concrete is a porous material and may still contain significant amounts of residual moisture deep within, which will continue to migrate upwards.
The destructive power of vapor pressure: When you apply an epoxy or polyurea coating, you effectively create an airtight lid on the concrete. Moisture trapped within the concrete accumulates upward as vapor . This trapped vapor creates tremendous vapor pressure , enough to tear even the strongest coating apart from the concrete, causing extensive flaking or bulging.
Ideal Drying Standards: A Professional’s Threshold
Before you pick up a roller, it must pass a professional moisture test.
Relative Humidity (RH) Testing: This test uses a probe to penetrate deep into the concrete to measure humidity. Most coating systems require an RH below 75% – 80% .
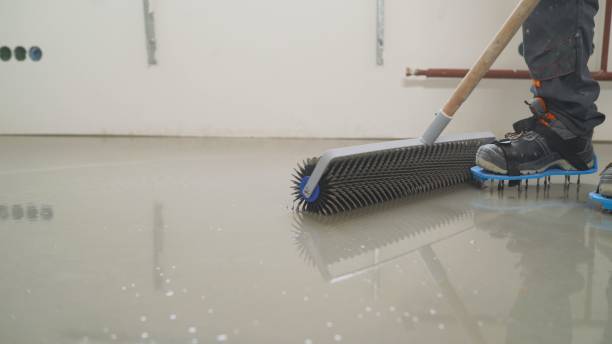
Moisture Vapor Release Rate (MVER) Test: Using a calcium chloride test kit, measure the number of pounds released per 1000 sq. ft. over a 24-hour period. Most coatings require an MVER of less than 3-5 pounds .
2. Scientific methods to accelerate drying: controlling the three elements of the environment
Accelerating concrete drying isn’t a matter of luck, it’s a matter of science. It all comes down to controlling three environmental factors simultaneously: temperature, humidity, and airflow .
Method 1: Heating – Accelerating Molecular Movement
Principle: Heat is a catalyst for evaporation. Heating speeds up the movement of water molecules within concrete and reduces its surface tension, accelerating its migration to the surface and evaporation.
Practical tip: Use a portable heater (such as a propane or electric heater) to keep the concrete surface temperature between 70°F and 80°F (21°C and 27°C) . Keep the temperature steady, rather than applying intense heat.
Method 2: Dehumidification – “sucking” moisture from the air
Key role: Simply evaporating moisture is not enough, you have to remove it from the air . Imagine a humid summer day. If the indoor humidity is saturated, moisture cannot evaporate.
Practical tip: Rent an industrial-grade dehumidifier and run it continuously. A dehumidifier draws in moist air, condenses the moisture (you’ll usually see the tank fill up quickly), and pushes dry air out, keeping humidity low and maximizing evaporation rates.
Method 3: Strong ventilation – promote evaporation
Principle: Continuous airflow removes the moist air layer on the floor surface and replaces it with dry air . This continuous vapor pressure difference is the key to continuously “sucking” moisture out of the concrete.
Practical Tip: Use multiple **high-powered air movers** or carpet dryers positioned in a fan pattern to create a constant airflow across the surface. If the outside humidity is low enough (lower than indoors), keep windows or doors open to create cross-ventilation and accelerate moisture removal.
3. Tips and precautions for using drying accelerator
Continuous Monitoring: The drying process must be combined with continuous humidity testing . After accelerated drying, the RH or MVER must be retested. Don’t just trust your eyes and feel.
Avoid extreme heat: Never use a high-temperature blowtorch or overly concentrated heat. This can cause cracking in the concrete surface and even create a fire hazard. Even, steady heating is key.
Conclusion: Patience and science are the keys to success
Accelerating concrete drying isn’t a simple “blow it dry” process; it’s a scientific engineering feat that requires simultaneous control of temperature, humidity, and airflow . You can’t skip this step, especially in humid or cold climates.
Before investing in expensive coating materials, be sure to invest in moisture testing equipment and drying accelerators . Remember, patience and science are the keys to success in concrete flooring . Don’t let trapped moisture vapor tear down your perfectly good, expensive flooring project.
How did you handle moisture issues during your last flooring project? Which moisture testing method do you find most reliable? Share your experiences in the comments!
